7 Steps to Frosted Glass Sandblast Etching – 1D Positive Effect
While there’s a number of ways to etch glass, at Sans Soucie, our Frosted Glass is all made by hand, thru the fine art of sandblast etching and carving.
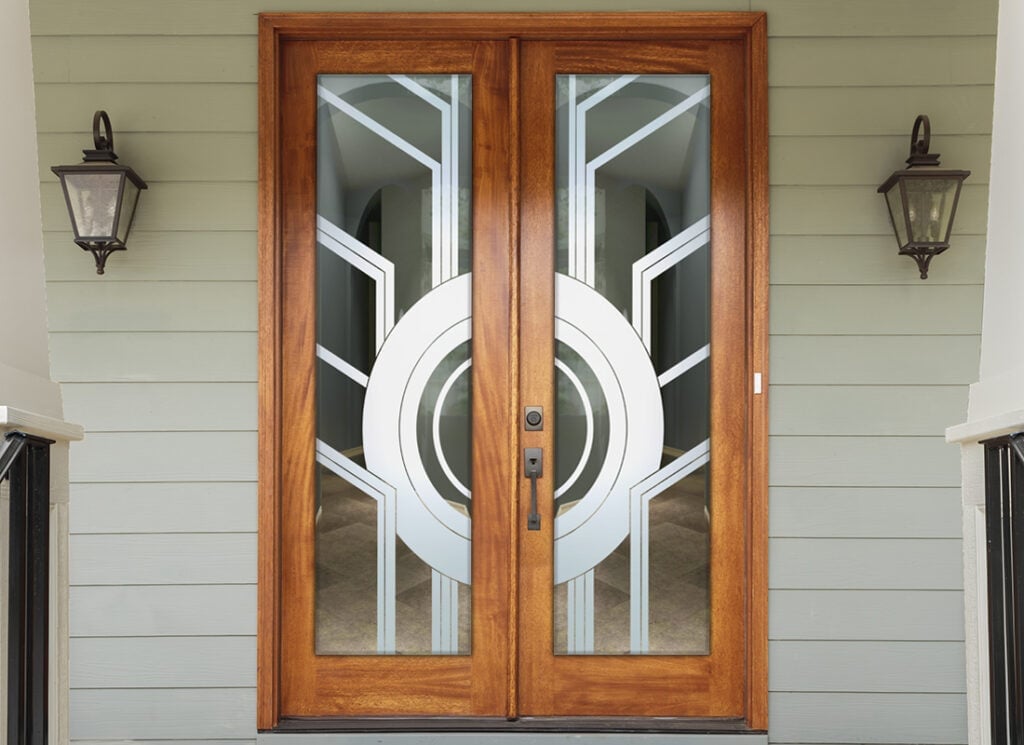
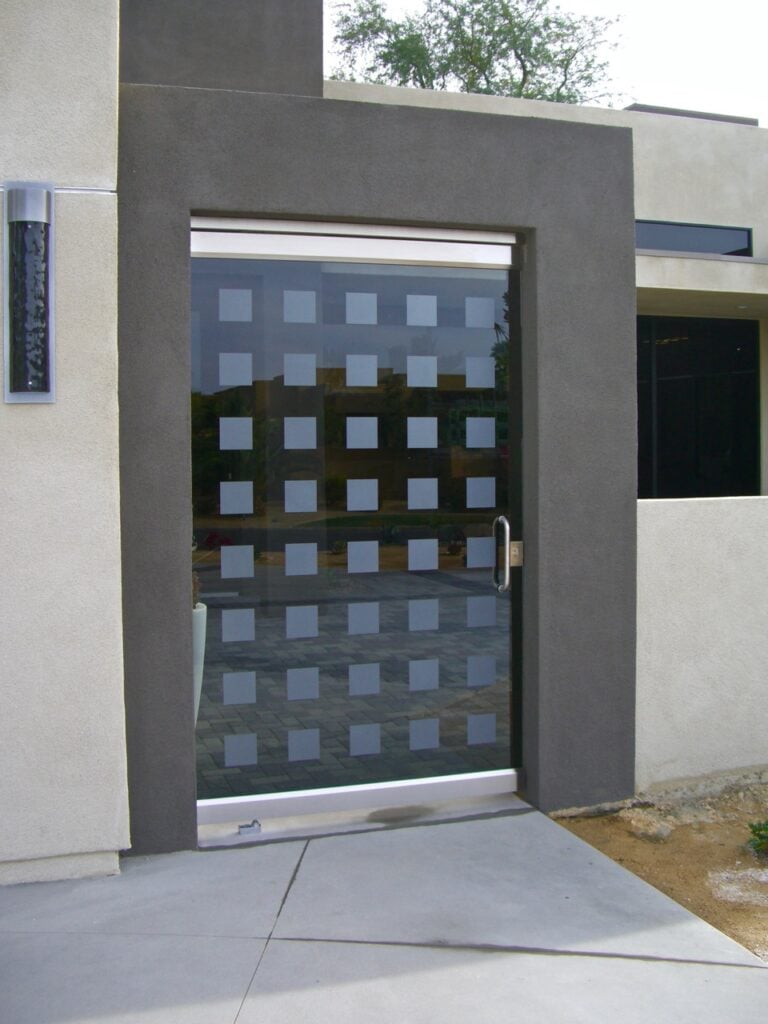
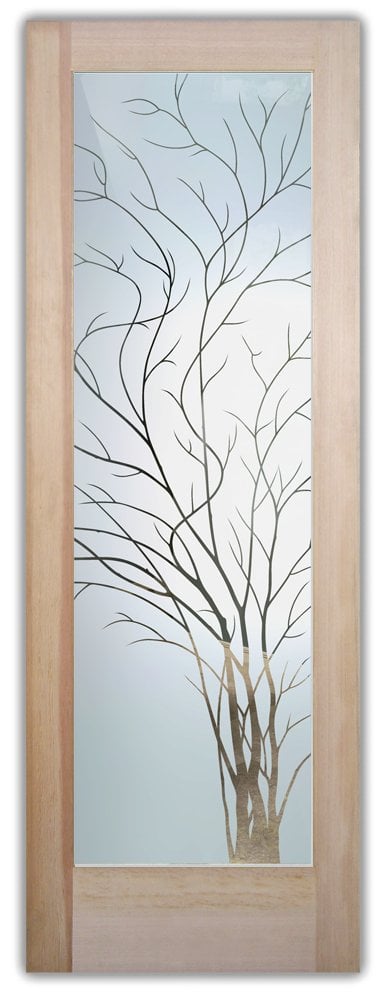
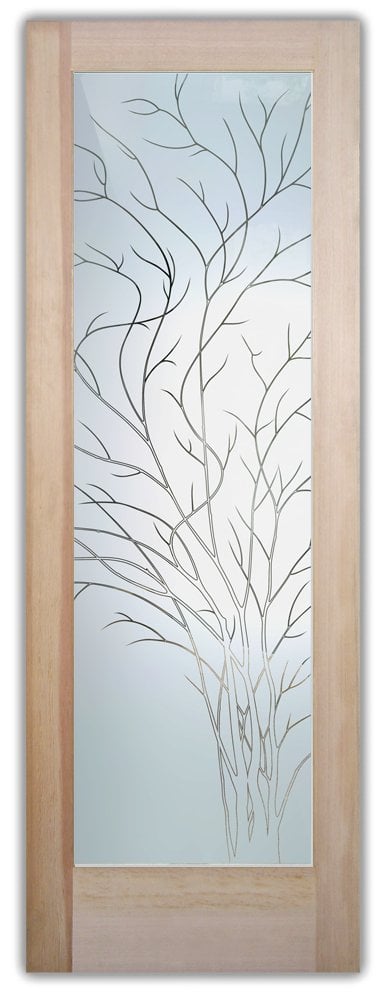
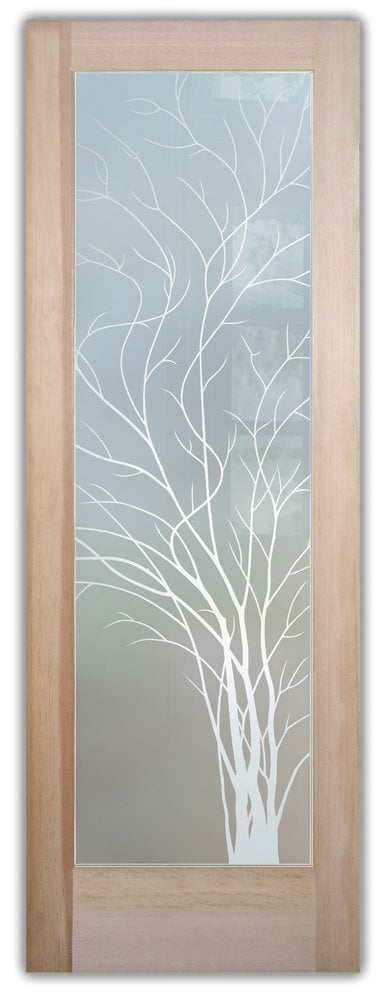
In this article, you’ll learn the 7 steps to creating beautiful sandblast frosted glass, with the spotlight in this post, on our 1D Positive Effect. With this effect, the design elements are sandblast etched on the top surface of smooth, clear glass, and are solid white shapes. This effect is considered semi-private, as the clear glass background area of the glass, will vary by design. Below are sample photos of products featuring our 1D Positive Effect:
How do you sandblast a Frosted Glass 1D Positive Effect?
Step by Step.
Step 1: Create a Drawing of the Design
The first thing that’s needed is quality design, drawn in very specific ways so that it can become a sandblast stencil. Drawing the design is a completely different type of skill and art form than the sandblasting itself. In fact, in many cases, you might have a good quality sandblast, but the design itself is not high quality. You may have drawn it for sandblasting, but it just, well, isn’t pretty! It takes a lot of trial and error when you’re creating a drawing that will become a sandblast stencil. Lots of factors come into play that are far different than when you sit down and just “draw” something out. For example, design elements need to be placed in a specific area at a specific size, height and distance from other elements within the design, for the purpose of creating less or more privacy (depending on how much privacy is needed). The artist creating the drawing for the design also needs to be careful to avoid things from becoming too busy or complex for sandblasting. Certain levels of design detail aren’t conducive to sandblasting, and some are. The reverse can also be true. Perhaps one can draw and create a beautiful design for sandblasting, but, the sandblast artist skill level isn’t high enough to bring out the fine details thru sandblast etching and carving techniques.
Now when it comes our 1D Positive effect, this doesn’t come into play, because as we’ve mentioned, the design are solid white shapes. Regardless, design quality is extremely important no matter what frosted glass effect we’re talking about. Another very important thing to point out is the lines that make up the design shapes are complete different, across our various effects. Meaning, we don’t use the same type of stencil for 1D, as we do for our 2D and 3D Enhanced. They’re completely different! This means for every single design we’ve created over the years, there’s a unique drawing and stencil for each design, in each effect, in unlimited numbers of shapes and sizes, as the design is custom drawn each and every time, to fit the unlimited different glass sizes different products come in! There can be on average of up to 6-8 different types or drawings and stencils, in each design. Imagine! Hundreds of designs, each one having 6-8 types of drawings, in unlimited shapes and sizes! It adds up to a whole lot of drawings!
Step 2: Cut the Stencil
Once we have our drawing, it’s time to cut it into sandblast resist, vinyl tape adhesive, to create our sandblast stencil. For our first 25 years, these stencils were all cut by hand, using an Exact-o Blade! Yep, that’s right. When we began there were no cutting machines or ways to do this any other other way. All stencils were hand cut, using an enlarged hand-drawn design that was glued to the sandblast-resist tape on the glass. Now, our stencils can be cut with a mechanical cutter-plotter machine. With 1D, the sandblast technique is what’s called a “single stage sandblast”. That means the areas of the glass that will be sandblast frosted, are the segments of the stencil that will be removed, prior to sandblasting. Most often this work is done with the glass laid flat on a table, moving it around very carefully so as not to scratch the glass. The artist first cuts the stencil.
Step 3: Lay the Stencil out on the Glass
The stencil is then laid out on the piece of glass. This requires applying a layer of transfer tape to the stencil, then applying the sticky side of the stencil on to the glass. The stencil has to be perfectly set, dead center with everything lined up perfectly on the glass. This requires a lot of practice and skill to get just right. The stencil is then pressed down firmly on to the glass using a vinyl squeegee.
⭐ 🔦 ⭐ Spotlight Video of our Frosted Glass 1D Positive Effect
Step 4: Weeding the Sandblast Stencil
Once the stencil is properly laid down, the artist will pull up all the segments that will be frosted. Again, this type of step is specific to a 1D sandblast. We call this phase “weeding”. (No idea where that phrase actually came from! I think we made it up!) This phase can take a small amount of time, to a whole LOT of time, depending upon how small or intricate the design details are, and of course how large the glass is. For example, something like a simple border, can take 5-10 minutes to “weed”, whereas if you’re working with a design like a city landscape or a detailed, intricate design with lots of small details, it can take hours! Hence the big difference in pricing for our various designs! The more lines in the design, the more complex it is, the longer it will take to weed. Once weeded up, the glass is ready for sandblasting!
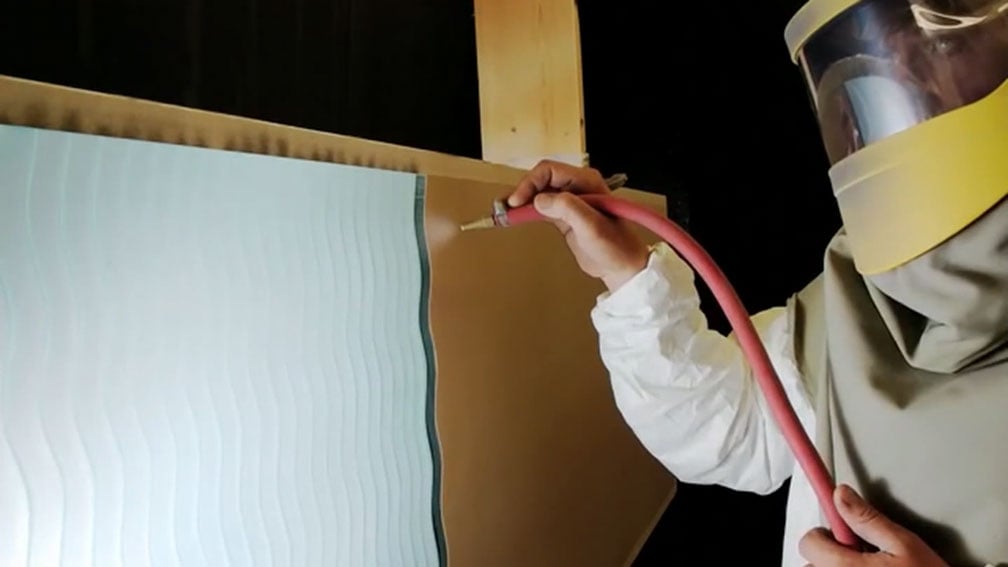
Step 5: Sandblast Frosting
Sandblasting a 1D sandblast is somewhat akin to spray painting lettering or numbers, using a simple stencil. With the stencil all weeded up, with the segments that will be frosted exposed, the artist sets the sandblast hose pressure to a nice, consistent level and “sprays” the glass with the blowing sand. (And yes, as you might imagine, the type of sand used to create frosted glass sandblast etching and carving is very special sand specifically engineered for glass etching). They then spray the glass back and forth, up and down, in consistent, even strokes, taking care NOT to stay in one place too long, which would then begin to CARVE the glass, rather than just etch the surface. It sounds simple enough, but requires skill and practice to get the pressure and the movement just right. It’s also important to avoid going the OTHER WAY, and avoid any “light spots” in the design. The artist has to evenly spray the sand across the entire surface of the glass, steadily and evenly, just the right amount of time to create nice, even coverage, without carving any of the surface. Once all shapes are evenly frosted, the artist is finished frosting the glass.
Step 6: Peel and Clean
The artist carries the finished piece of glass out of the sandblast booth, lays it on a table and begins the process of peeling off the sandblast stencil, being extremely careful not to scratch or damage the glass in the process. Any and all adhesive from the stencil must be carefully removed. Once the stencil is all peeled up, the artist inspects the edges of the frosted glass shapes, and begins the process of careful cleaning with a soft cloth and glass cleaner.
Step 7: Apply Protective Film
The final stage to finish off our frosted glass panel, is to apply a protective film to protect the glass from scratches as it awaits shipping and installation.
How Private is 1D Positive Frosted Glass?
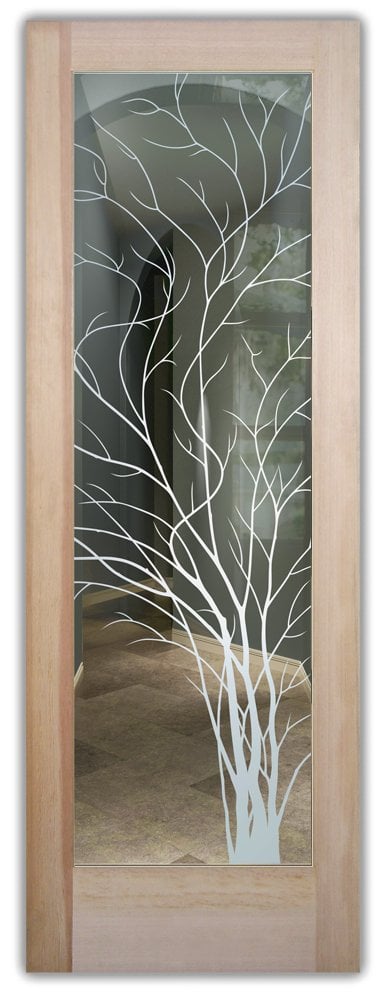
Well, it all depends on the design. Some designs in 1D Positive will provide very little privacy if the design segments don’t cover much of glass. Other designs that cover the majority of the glass can be considered “semi-private”, but in either case the glass won’t be 100% obscure. For THAT, we have to go to a different effect like a 1D Negative or Pinstripe, or for total privacy, 1D Private. The examples below in our Wispy Tree Design will help give a clearer picture.
About Sans Soucie Art Glass:
Family owned and operated since 1976, Sans Soucie sets the industry standard for the highest quality design and execution of sandblast frosted, carved and hand painted glass both national and worldwide. Choose from our vast collection of designs across every decor, or let us create a brand new one-of-a-kind designs per your specifications. Our frosted glass designs turn ordinary glass into art pieces that add a luxury element to your home, while creating the privacy you need. Truly art with a function, our etched glass designs diffuse light and reduce glare, while enhancing the look of your home with a unique, eye catching custom element. Not clip art or machine manufactured, each design is a uniquely handcrafted original work of art, custom designed for our distinguished clientele of homeowners and commercial developers.
Free shipping to most states, shipping both national and worldwide, all our glass is handmade and expertly packed in-house by our team of glass artisans and shipped from Palm Desert, California. Shop our most popular products like slab and prehung front doors, interior doors, pantry doors, glass front doors, glass interior doors, sliding glass barn doors, windows, shower doors, shower panels and shower enclosures, decorative mirrors, signs and glass tables.