

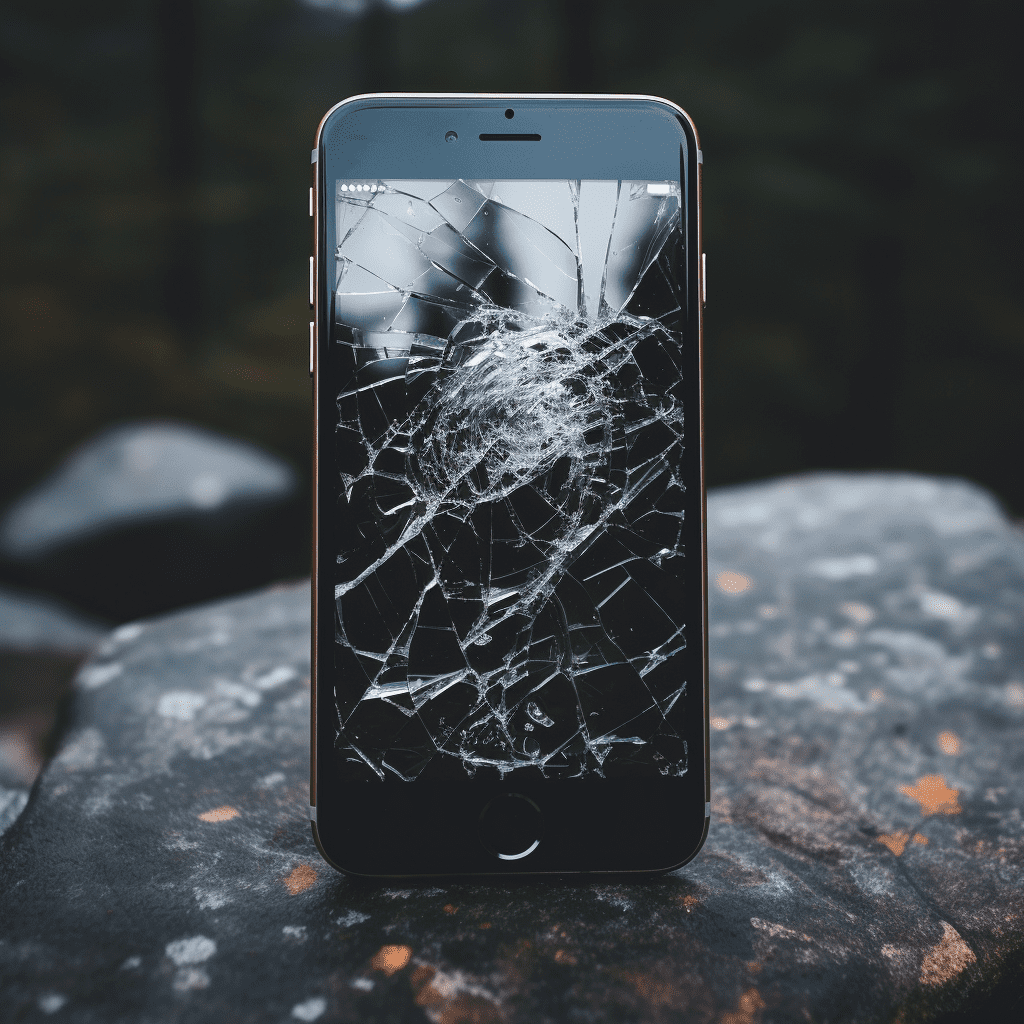
A broken iPhone screen can be a major inconvenience. Not only is it unsightly, but it can also make it difficult to use your phone. If you’re looking to fix a broken iPhone screen yourself, you’ve come to the right place. In this blog post, we’ll walk you through the steps of fixing a broken iPhone screen, step-by-step. We’ll also provide some tips on how to prevent your screen from breaking in the future.
What you’ll need:
- A new iPhone screen
- A toolkit for iPhone repairs
- A microfiber cloth
- Isopropyl alcohol
- A suction cup
- A heat gun (optional)
- A guitar pick (optional)
Step 1: Gather your supplies.
Before you start, make sure you have all of the supplies you’ll need. This includes a new iPhone screen, a toolkit for iPhone repairs, a microfiber cloth, isopropyl alcohol, and a suction cup. If you have a newer iPhone model, you may also need a heat gun and a guitar pick.
Step 2: Power down your iPhone.
Before you start working on your iPhone, it’s important to power it down. This will prevent any data loss during the repair process. To power down your iPhone, press and hold the power button until the “slide to power off” slider appears. Slide the slider to the right to power off your iPhone.
Step 3: Remove the old screen.
Use the suction cup to carefully lift the old screen from the phone. Be careful not to damage the surrounding components. Once the old screen is loose, you can remove it completely.
Step 4: Clean the frame.
Use the microfiber cloth to clean the frame of your iPhone. This will remove any dirt or debris that could interfere with the installation of the new screen.
Step 5: Apply adhesive.
If your new screen comes with adhesive, apply it to the back of the screen. Be sure to follow the instructions that come with your new screen.
Step 6: Install the new screen.
Align the new screen with the phone and press it down firmly. Be sure to follow the instructions that come with your new screen.
Step 7: Reconnect the connectors.
Reconnect the connectors that were connected to the old screen. Be sure to be careful not to damage the connectors.
Step 8: Turn on your iPhone.
Once the connectors are reconnected, turn on your iPhone. If your iPhone is not turning on, try restarting it.
Step 9: Test your iPhone.
Once your iPhone is turned on, test it to make sure that the new screen is working properly. Try touching the screen and making sure that it responds correctly.
Tips for preventing broken iPhone screens:
- Use a case or screen protector. This will help to protect your screen from scratches and cracks.
- Be careful when using your iPhone. Avoid dropping it or putting it in your pocket with keys or other sharp objects.
- Update your iPhone software regularly. This will help to improve the stability of your phone and prevent software-related issues.
Fixing a broken iPhone screen can be a daunting task, but it’s definitely possible to do it yourself. By following the steps in this blog post, you can get your phone back up and running in no time.
Additional tips on your iPhone screen repair:
- If you’re not comfortable fixing your iPhone screen yourself, you can always take it to a professional repair shop.
- When buying a new iPhone screen, be sure to buy one that is compatible with your phone model.
- If you’re using a heat gun, be careful not to overheat the screen.
- If you’re using a guitar pick, be careful not to scratch the screen.
I hope this helps!