

I wrote about this reel’s Initial Servicing in an earlier blog :https://gaspinggurami.wordpress.com/2013/06/25/servicing-shimano-talica-8ii-initial-servicing/
I found that although freespool right out of the box was better than most lever drag reels, I still wasn’t getting as much casting distance as I wanted despite having degreased the stock bearings. So I went ahead and lathed out a sleeve for the shaft. This helped a little more, but I also found that running the bearings on dry lubes resulted in heavier cranking when strike drag was set above 10lbs.
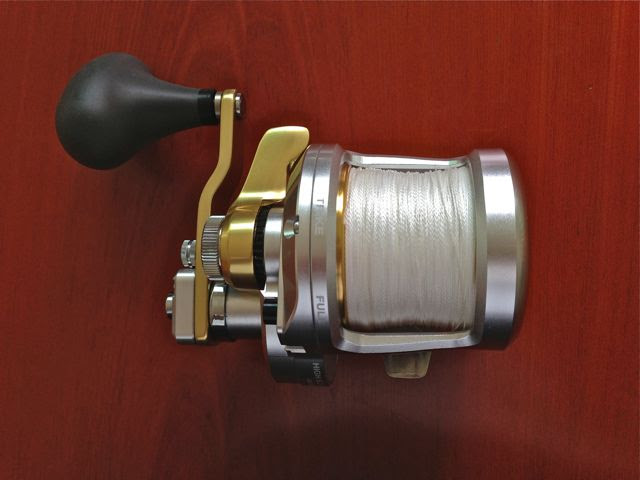
All things considered, I’m so glad to have bought this reel. It has an incredibly smooth and powerful drag, and great cranking power in spite of its high gearing and small size. Push into low gear, and the most stubborn shark simply gets winched from below the boat into submission — the torque from this little machine is incredible despite having only a short handle. Since last year, I’ve commenced building me a slow-pitch technique jigging stick (but that’s another story, my apologies for digressing…) and I’m thinking of using this reel for slow jig since it’s got the speed, and I’m confident I could alleviate the heavy cranking issue.
Thus began my search for a 4-point-contact ball bearing to replace the 3 conventional spool bearings. A 4-point-contact bearing is named such because it maintains 4 points of contact instead of the normal ball bearing’s two points. This allow it to handle both axial and radial loads, which lever drag reels subject their spool bearings to. This will then make cranking feel less stiff when the lever drag is engaged. However, my search did not go well. I could only find large sizes of this style of ball bearings and none that will fit the reel. So I settled next on finding Deep Groove Ball Bearings which work as well.
Those who want to search for your own ball bearing replacement, the size for #1531 is 6mm x 15mm x 5mm (ID x OD x Thickness) and the two smaller #1525 are 5mm x 11mm x 4mm (ID x OD x Thickness). And if you find a supplier for 4-point-contact bearings of these sizes, please tell us about your supplier’s contact in the comments below, so others reading this can get theirs swapped out too.
Cheap and effective replacement parts
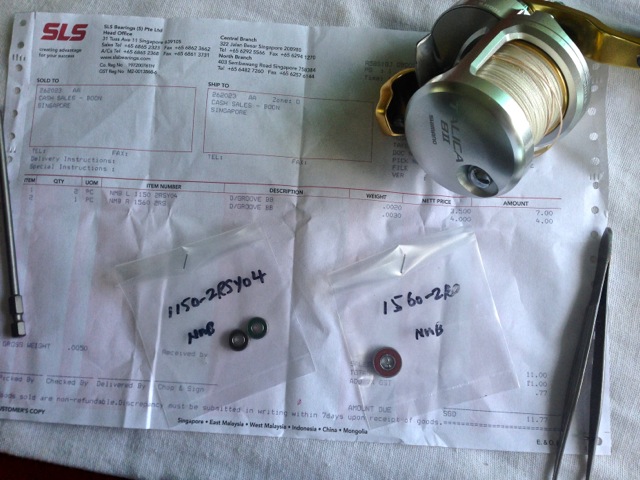
I bought my Deep Groove Ball Bearings from SLS bearings Pte Ltd. They supplied me with Japanese-made NMB bearings and the three cost me S$11.00. I chose the 2RS model for the easy-to-remove rubber shields. If you want to get them for yourself, the part number for the bigger #1531 ball bearing is MN-1560.2RS-[R] and the two smaller #1525 is MN-1150-2RSY04-[L]. It’s best you call to check availability. I was served by Sales Engineer Mr Alvin Chan. He was prompt and helpful to find me a bearing that is suitable to my needs.
Schematics keep the guessing minimal
Before we start, have your schematic ready. If you haven’t got one, you can download one from http://www.mikesreelrepair.com/schematics/albums/shimano/Shimano_Talica_TAC8-2_Schematic.pdf. Later, you will notice that I have moved some of my washers to different places from the drawing. That’s because I have sleeved the shaft and so the washers need to be discarded/moved. More on that later.
Taking it apart
Before you start taking the reel apart, make sure you have the necessary tools ready. You need a sharp hook to remove the shields on the new ball bearings, a wooden dowel, degreasing fluid such as Ronson Lighter Oil, lubes, greases, Size 0 Philips head screwdriver and Size 2 and 3 Slot screwdrivers.
Begin by removing the rubber shields on the new ball bearings with your hook, and degreasing away the lubricant it came with. (I simply chucked mine in a bottle of Simple Green and ran it in the ultrasonic cleaner for 10 mins). If you want to read more aboutr removing the shields on your ball bearings, visit this post: https://gaspinggurami.wordpress.com/2014/09/18/ball-bearing-shield-removal/
Do not mix lubricants that came with the bearing with yours unless you know from experience that it will not cause a chemical reaction. So it’s always safer to degrease completely, then reapply your lube of choice.
Once the bearings are cleaned and dried, give it a few drops of ReelX and snap back the rubber shields. Reels like these are typically used on a boat where salt spray can get in. So it’s preferable to leave the shields on.
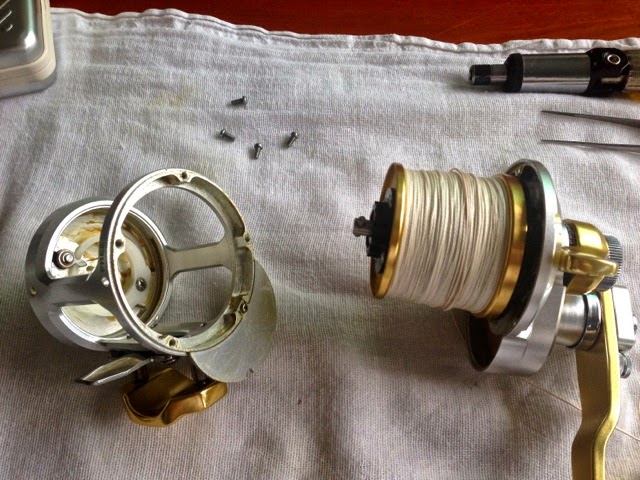
Remove the four screws #1494 with a Size 3 slot screwdriver. Your reel can now be pulled apart.
Always set Drag Control Lever to Freespool
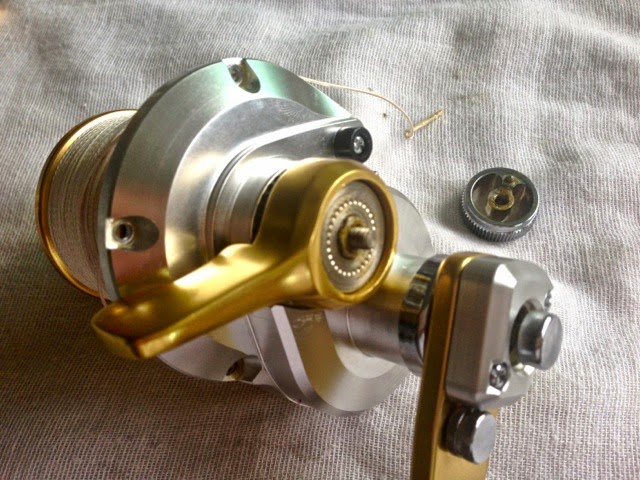
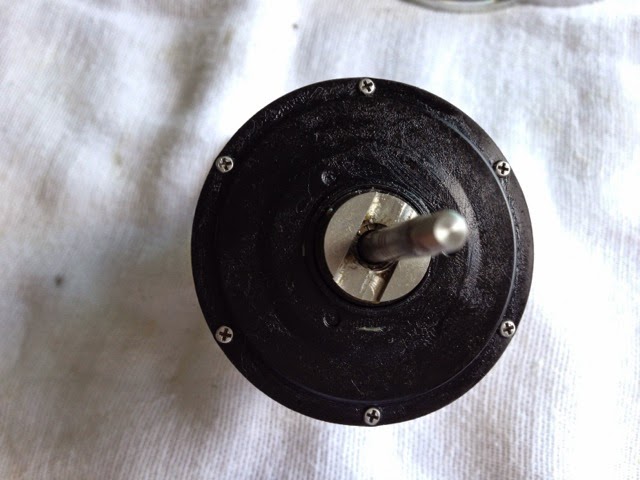
Pull #1488 Drag Control Lever to the “free” position before you attempt to unscrew #1483 Pre-Program Dial. Make this a habit each time you meddle with the Pre-Program Dial as turning it when drag is engaged may strip the fine threads on these lever drag reels.
Remove #1488 Drag Control Lever and the spool will slide out.
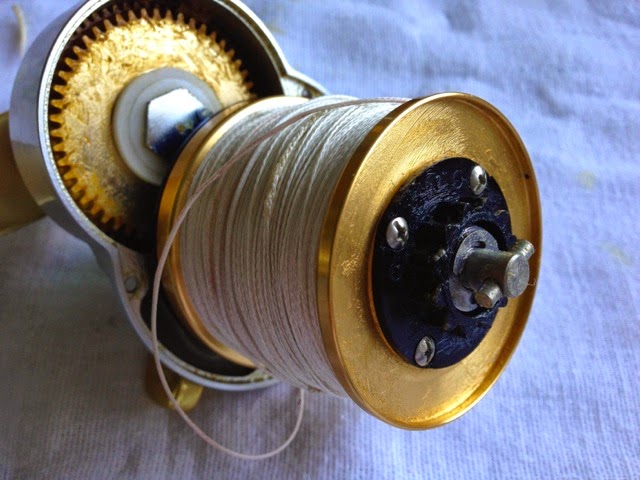
Removing the bigger bearing
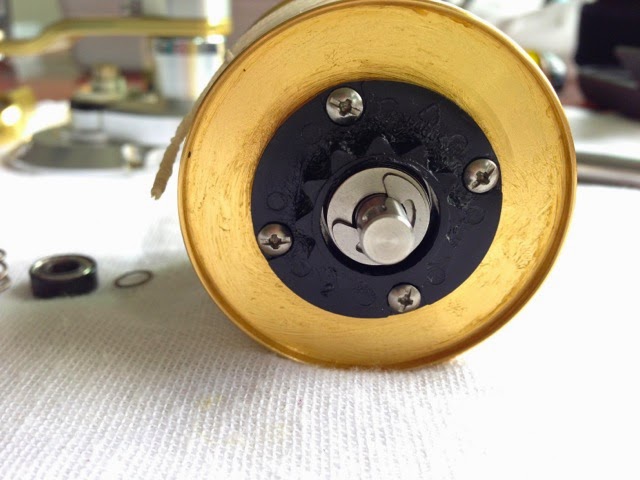
Remove Cross Pin #902. Remove four screws (not shown in schematic) using a size 2 slot screwdriver. The black plastic alarm ratchet (not shown on schematic) can be removed.
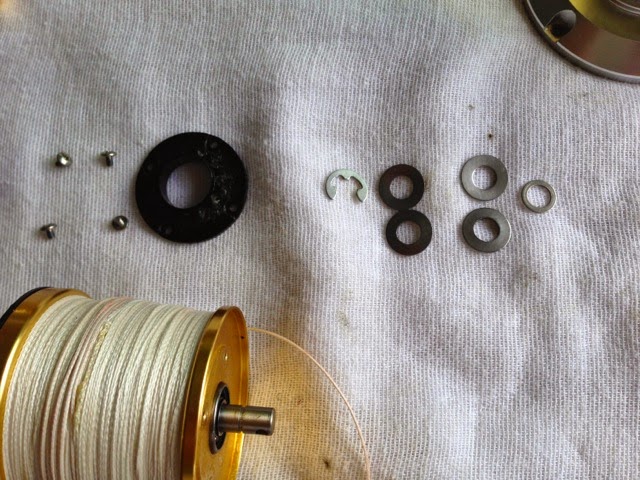
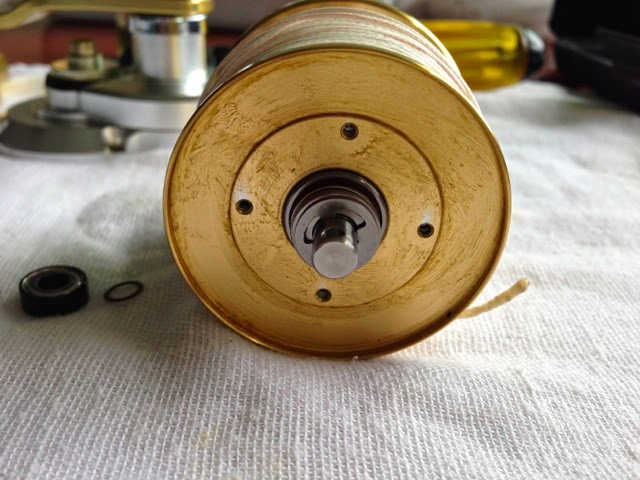
Carefully pry out #464 E Lock under a clear plastic bag so it wouldn’t fly away and get lost. Remove the 4 #1533 Coned Disc Springs and #1532 Washer.
Removing Drag and Spool Shaft
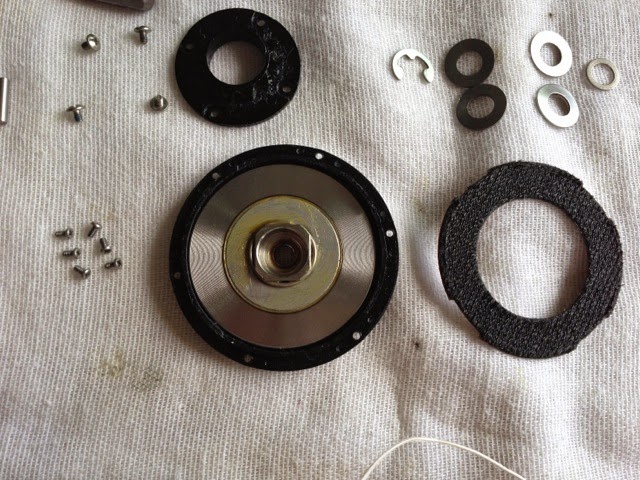
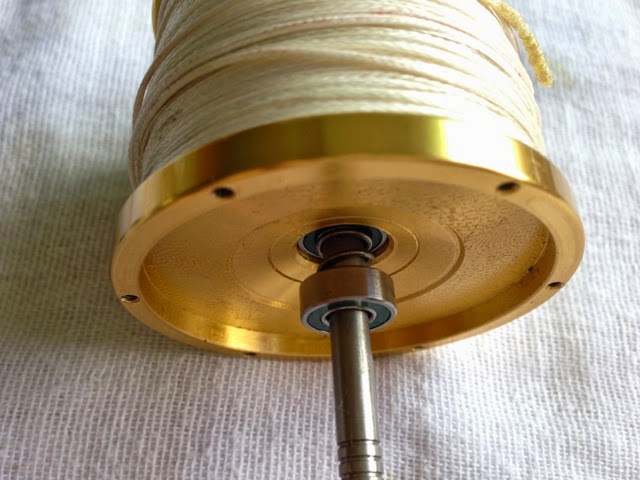
Remove the six #1519 Screws using Size 0 Philips Screwdriver. The threads are very fine and thread locked with Loctite, so you must have a precise fitting screwdriver, and have patience when you attempt this. Should the screw refuse to budge, do not use excessive force. Instead, use an Impact Driver to extract the screw or you risk rounding the fine Philips Head.
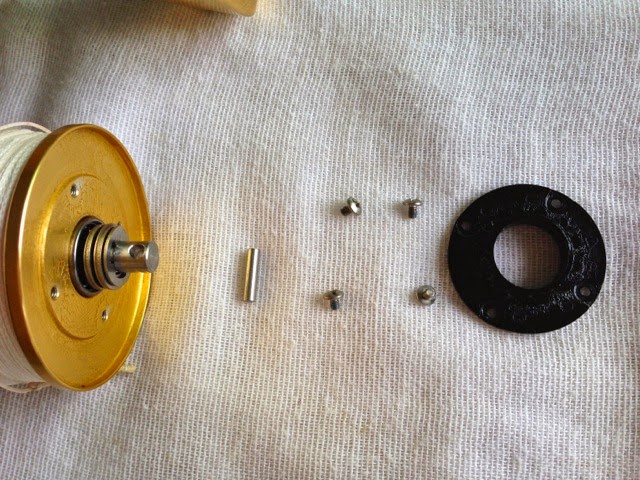
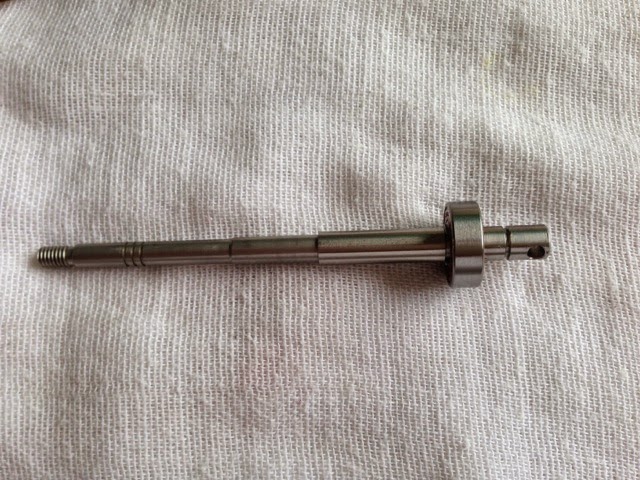
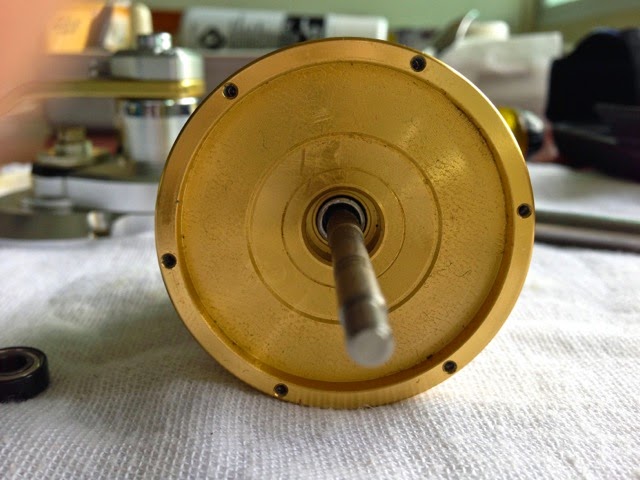
When #1520 Cooling Shield and #1524 Drag Washer is removed, the #1528 Spool Shaft can be extracted.
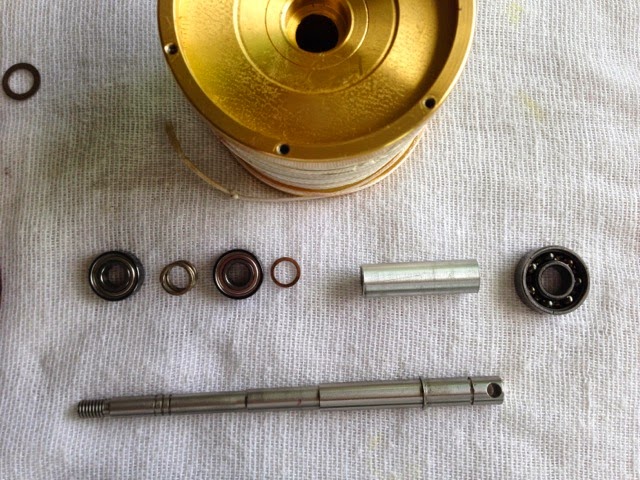
This picture may puzzle some — there is one piece of #1526 Washer missing, and there is an aluminium piece beside it that is not shown in the Schematic. The aluminium piece is a sleeve that I lathed out of 7075 aluminium. For those who want to make one, the dimensions are 6mm x 7.4mm x 25mm (ID x OD x Length). The purpose of the sleeve is to keep the spool bearings floating instead of being pressed sideways against the spool because the pressure from the inner races of each bearing is equalised and transferred to the sleeve when drag is engaged. This allow the bearings to spin more freely. I had cut my sleeve a hair too short. If it was 25.5mm, it would have been better. So I moved the #1526 Washer inwards to thrust against the sleeve. (The other piece is moved the other end to thrust against #1521 Pinion Guard.
Simple Procedure
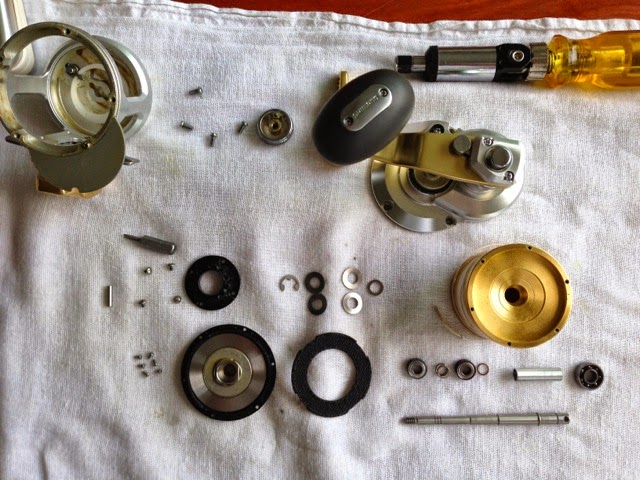
These are all the parts that you need to strip apart, making this a simple procedure that anybody can do.
Reassembly
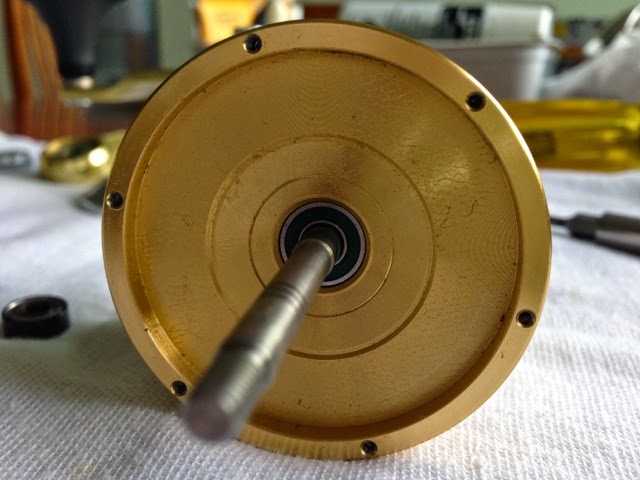
Slide new NWB bearing MN-1560.2RS-[R] in place of #1531 Ball Bearing, down the fat end of #1528 Spool Shaft Mine was a tight fit because I realised I had caused burrs on the groove of this shaft. Polishing the burrs away made the insertion straightforward.
Insert #1532 Washer.
Springs are opposed

Oppose #1533 Coned Disc Springs in ()() configuration and insert.
Snap on #464 E Lock clip, taking care not to cause any new burrs to be formed on the shaft.
Grease the aluminium sleeve and insert from the threaded end of #1528 Spool Shaft. If you don’t have a sleeve, this step can be ignored, and reinstall according to the Schematic’s drawing.
Slide #1528 Spool Shaft assembly into the “left side” of #1529 Spool which has 4 screw holes.
Reassemble the black plastic Alarm Ratchet and four Slot Screws (Not shown on Schematic)
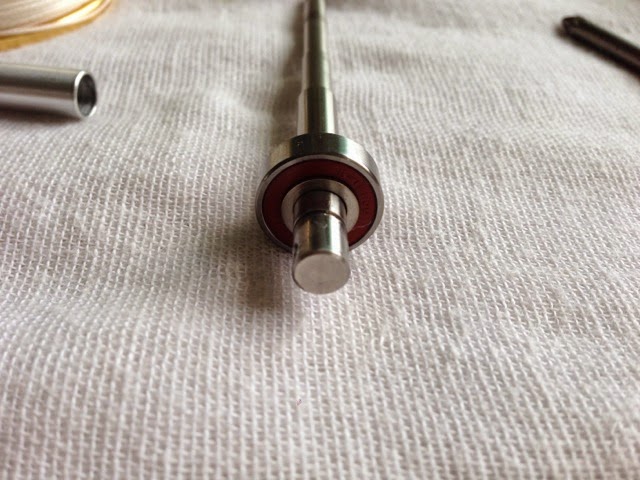
For those thinking of making a sleeve: Observe that my sleeve slightly protrudes beyond the spool, and is level with the outer spool flange. You should make yours protrude just longer than the second flange. Those who are not sleeving your shaft can ignore this step.

That’s why I needed to move a copper #1526 Washer inwards to boost the sleeve height. Those who are not sleeving your shaft can ignore this step and follow the schematic’s assembly position.
Install replacement NMB Ball Bearing MN-1150-2RSY04-[L] in place of part #1525 Ball Bearing.
Insert #1527 Pressure Release Spring followed by the second new NMB Ball Bearing MN-1150-2RSY04-[L] in place of part #1525 Ball Bearing. For those who are not using a sleeve, you should place the copper #1526 Washers, one each between Ball Bearing and #1527 Pressure Release Spring.
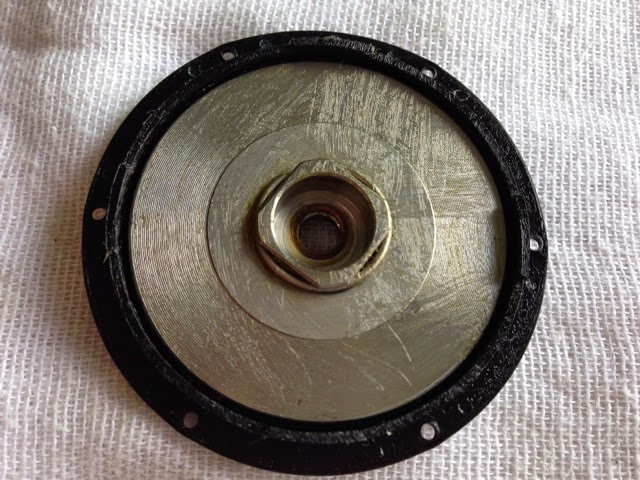
Lightly grease #1522 Drag Plate with regular Cal’s Universal Reel and Drag Grease. You can notice my copper #1526 Washer still stuck to #1521 Pinion Guard. Those not using a Sleeve will have this washer between your new NMB ball bearings.
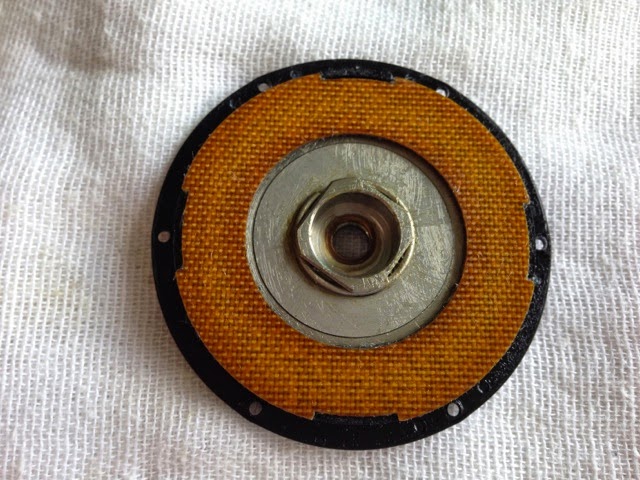
Mate #1524 Drag Washer to the tabs on #1520 Cooling Shield. The Grey Carbon side should be in contact with #1522 Drag Plate.
I’ve moved the copper #1526 washer down the shaft here. This piece is not necessary if your Sleeve is long enough and can be placed between the new Ball Bearings, following the Schematic instead.
Secure Drag Assembly with the six tiny #1519 Screws. As they are fine threaded, take care not to over tighten. I set my power screwdriver to the second lowest torque setting and tighten opposite sides to ensure all are of the same torque.
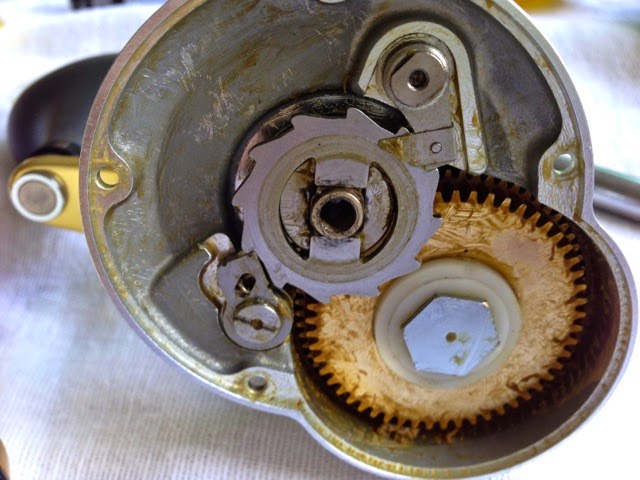
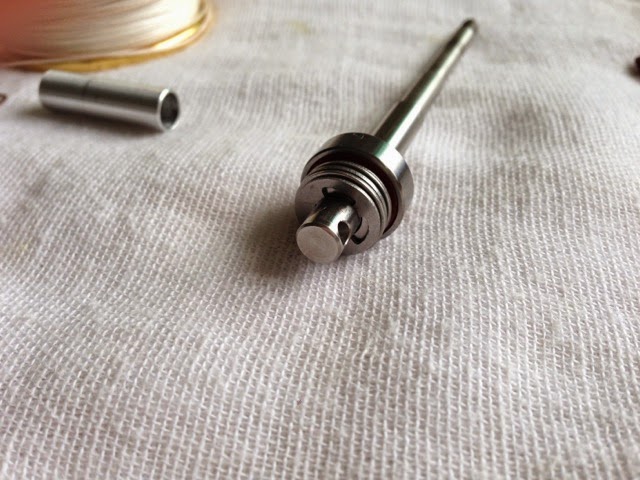
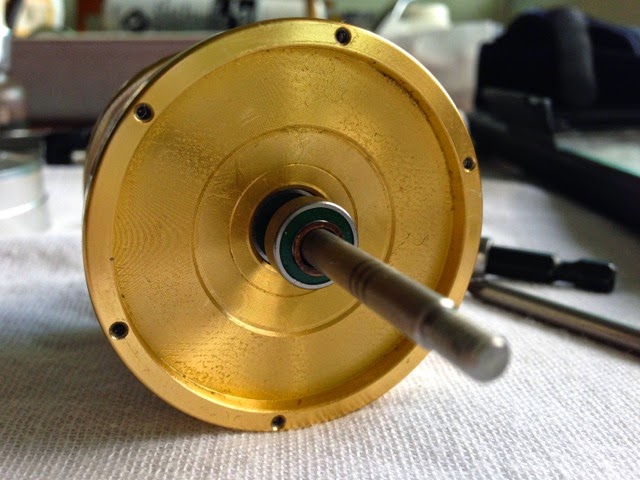
Mate Spool Assembly with Right Side Drive. Observe that the male “H” on #1521 Pinion Guard (picture before this) must seat within the female “H” slot of #1518 Anti-Reverse Ratchet.
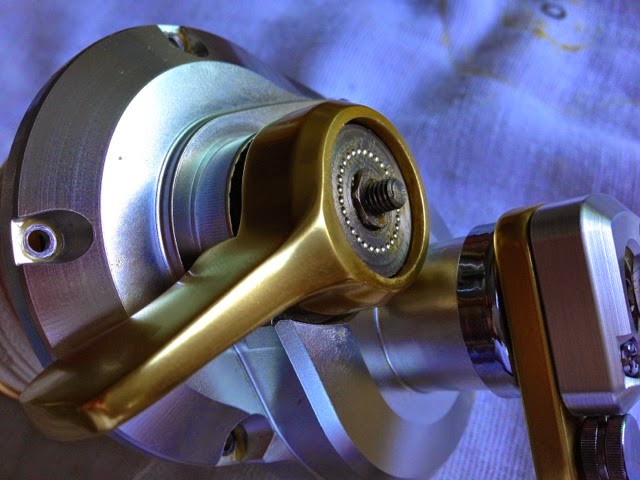
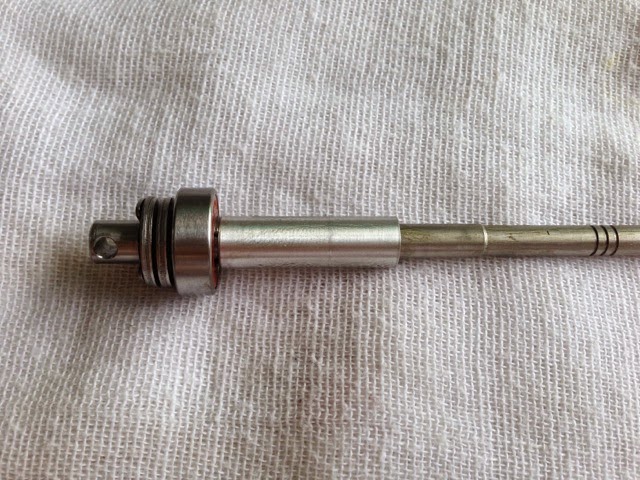
If the previous mating is correct, you can see a substantial amount of threads from #1528 Spool Shaft protruding. Attach #1488 Drag Control Lever at “Free” position.
Screw on #1483 Pre-Program Dial a few turns. Engage drag to strike and give the handle a turn. The spool should be engaged and turning. If not, remove and check for proper mating between #1521 Pinion Guard and #1518 Anti-Reverse Ratchet.
To prevent #902 Cross Pin from falling off when you assemble the reel, grease both the Cross Pin and its hole.
Reassemble and secure with four #1494 Screws.
Wipe off external grease using a kitchen towel moistened with Simple Green. Your Ball Bearing replacement is now completed!
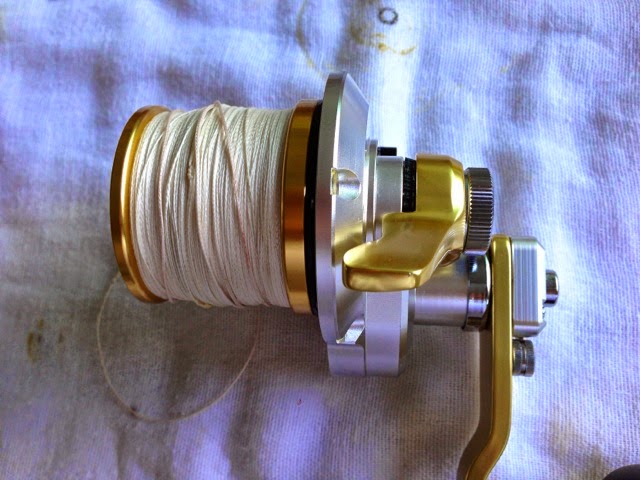
With this setup, I found that I could achieve 15lbs of drag at strike position on a full spool of line, and pulling directly from the reel and still have smooth cranking with only the slightest hint of friction. This will normally translate to around 18-20lbs of strike drag if the reel is mounted on a rod at 45º incline and line threaded through the guides — this is way, way, more than what I will expect of a reel as tiny as this.
That’s all for now folks, it’s time to go out and fish this reel.
Till I next see you out on the water, Happy fishing!
LL
Text and Images © Lawrence Lee
All Rights Reserved
If you want to use any content for your own publication, please write me @ LawrenceLee_TC@yahoo.com
